Make-up Exploration
Gelatin
Processing Silicone in a fibreglass mould
Processing Fibreglass moulds

First Attempt
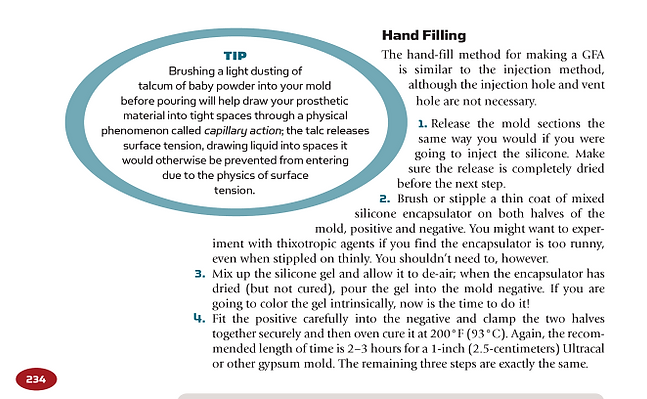
Process: Hand Filling
Second Attempt and Application
Process
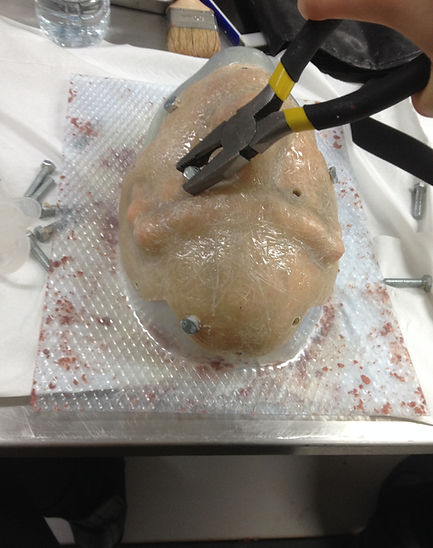
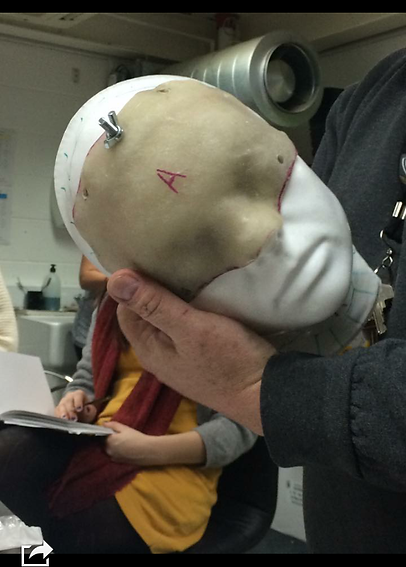
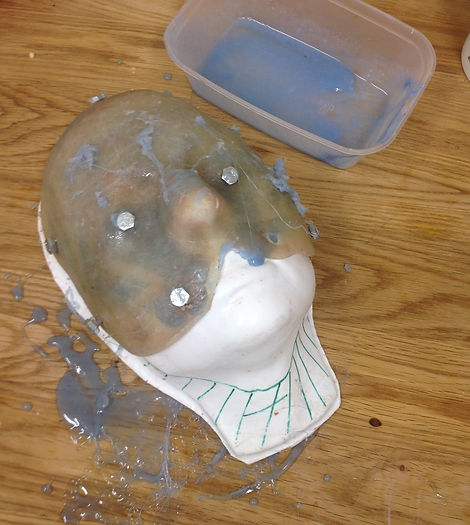
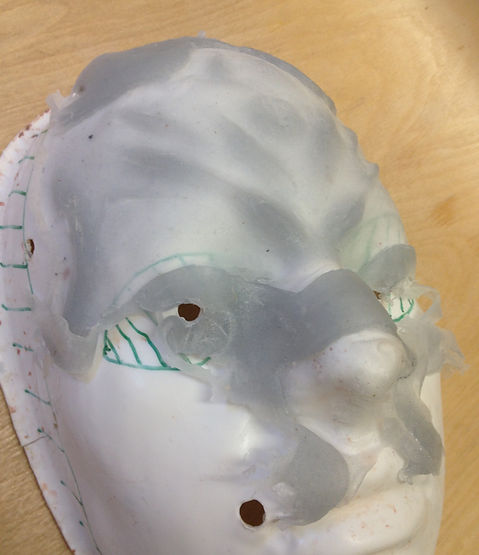
Gelatine prosthetic from a fibreglass mould oyu can do as i have done below and fill the mould with melted gelatine and then squeeze the core into the mould and then go through after and put all the bolts in. This isn't a wrong way to do it, however it is very messy and the gelatine starts to cool when you are putting hte bolts in, which means you may not get a really thin edge if you take to long. Another problem with this is the bolts bcome very gunky and messed up with cooling gelatine, so it becomes harder to screw the nuts on quickly.
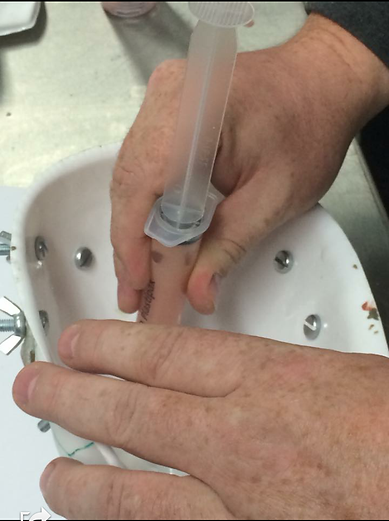
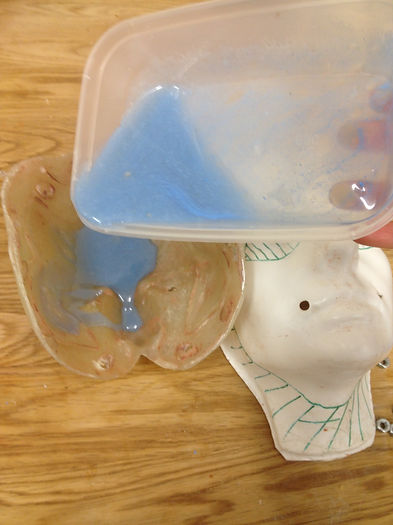
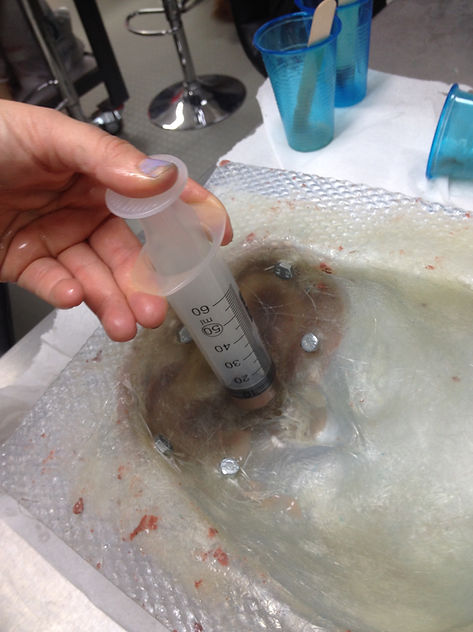
Alternitively you can inject gelatine into the fibreglass mould, in order to do this you should keep the syringes in warm water so that the gelatine does not set in them. this is probably a less messy way make the prosthetic.


Injection filling a mould is another great benefit to making Fibreglass moulds.
I found it a lot less messy than trying to hand fill the mould, and reletively easy.
Problems that could occur may be,
- air in the mould
-not letting the silicone leak into the flashing
not having enough silicone
-delaminating
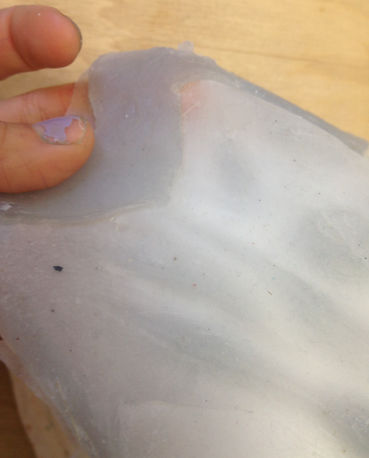
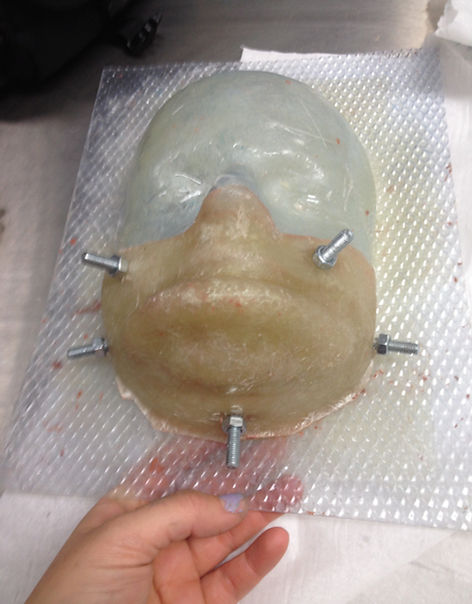
Demoulding the Piece
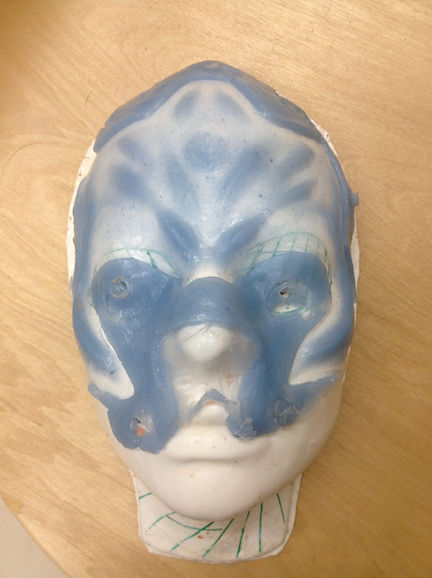
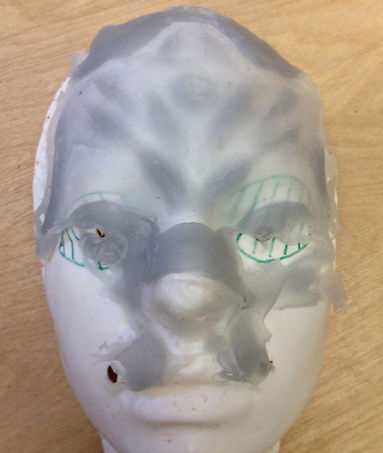
The first attempt did not come out perfectly, which is what i expected.
i was quite pleased with the edges on the forhead of the piece and i believe they could have worked. but i really wanted to try it again.
Because the gelatine didn't reach all the way down to the cheeks.
I think there were 2 reasons for this.
1) i didn't use enough gelatine
2) the gelatine was too hot so when i poured it all over the mould it slipped off the sides pretty quick and but the time i had put the core into the mould there wasnt any gelatine to mould.
Fig. 94
Fig. 93
Fig. 92
Fig. 90
Fig. 91
Fig. 88
Fig. 73
Fig. 84
Fig. 74
Fig. 85
Fig. 87
Fig. 75
Fig. 83
Fig. 86
Fig. 82
Fig. 79
Fig. 80
Fig. 81
Fig. 76
Fig. 78
Fig. 77
Fig. 89
Process
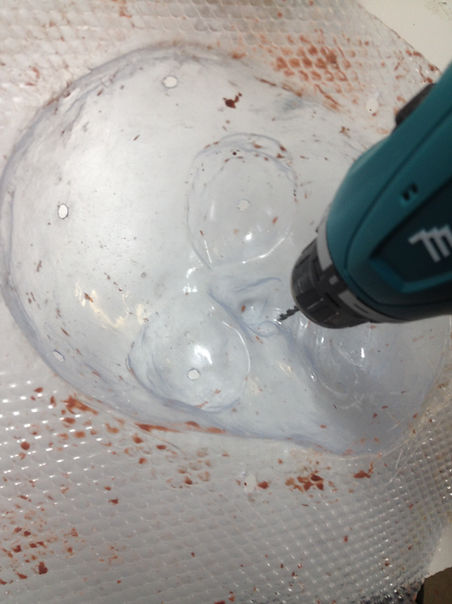
-Drill a hole through the back of your core, this is easy to do with a vacuum formed plastic face, it can also be done with a fibreglass core.
-The drill bit you need to use is between 4 - 4.5 mm. Most syringes have a universal size tip but you want it to be a good fit so try out your syringe before you drill the hole.
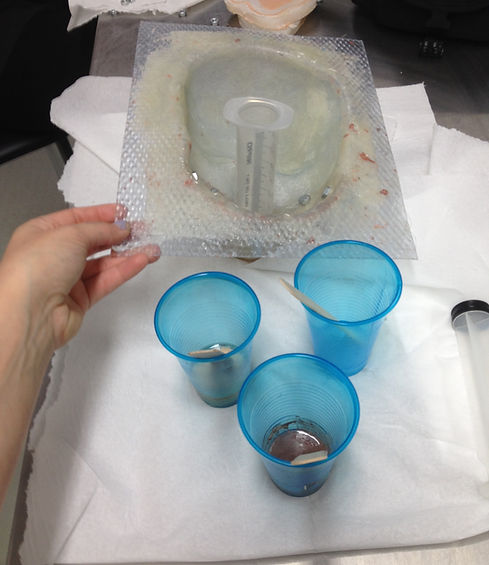
-Before you can inject the mould with silicone, you have to buff mould release onto the core and mould.
-Then paint, sponge or airbrush in the encapsulator into the mould and on the core.
- put the core and the mould together and screw in all the bolts. However to not tighten them to the max.
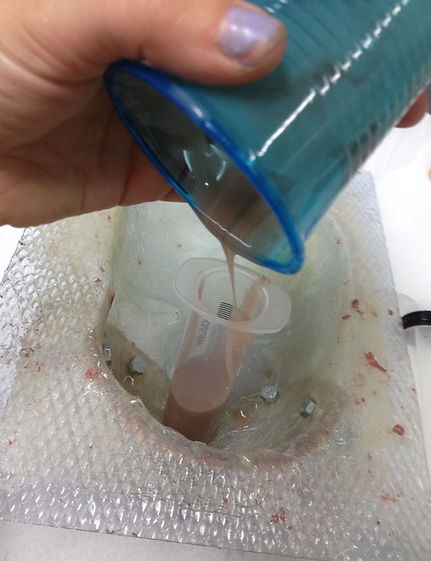
- Mix all your platsil Gel silicone, A, B and C together then pour into the syringe. Make sure there is no air left in the syringe before you inject it into the mould otherwise you will be injecting air into the mould.
To do this just turn the syringe upside down and squeeze the air out.
- you are then ready to insert the silicone. once it is all in watch for excess escaping from the flashing. once you see this happening you can tighten all the nuts and bolts to the max to get a really nice thin edge.
One tip for demoulding the pieces it to use LOTS OF TALC POWDER!
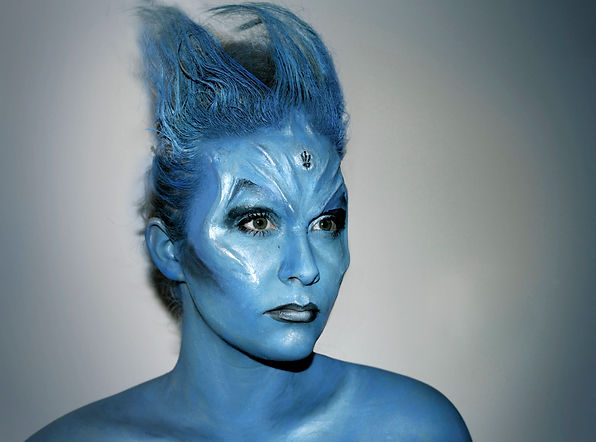
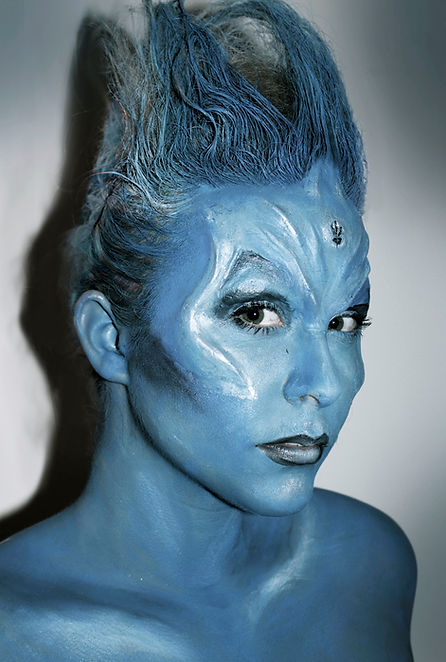
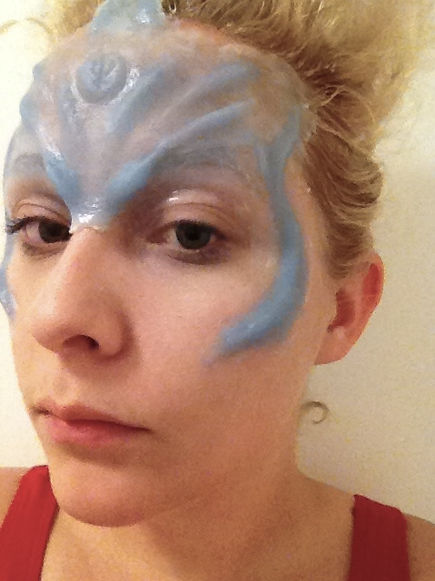
I am so much happier with how the second piece came out. i think that the edges are even thinner that the first one, and i let the gelatine cool a little before moulding it which i think made it help mould the form.
I was especially happy with the cheek pieces because they blended really nicely when i applied them , i used a little witchhazel to bleng the edges and i think they were sucessful .
However i was not as happy with the foreheard and nose, i think it didn't fir tight because it was casted on a generic face so the forhead was bigger than mine and when i stick it on it overlapped into my hair, which meant i couldn't blendd it. However this hopefully would not be a problem if sculpted on a correct face cast.
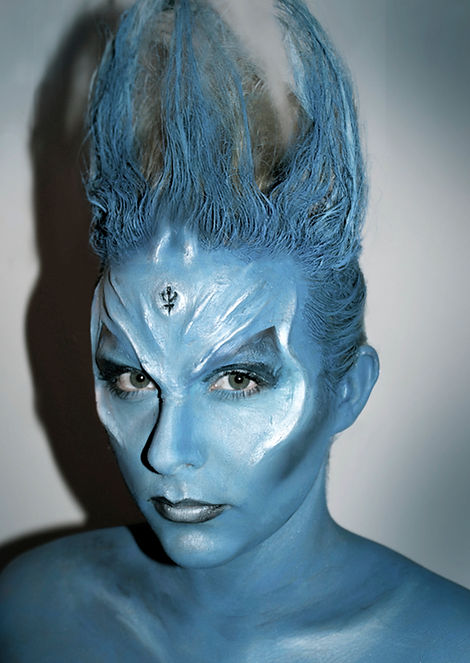
The design and paint job came from the idea that the character was an alien Queen or warrior on the planet Neptune. It was sort of inspired by Guardians of the galaxy and David White's Makeup on the film. I tried to style my hair into a bit of a crown which i think works in a way.
i Painted this with snazaroo watercolours, so it wouldn't be good on stage or film set because the paint wouldnt last, but it was good for a photoshoot, and the hair coloured really well with aquacolour.
However when painting the edge of the prosthetic i noticed the paint made it lift a little and slightly damaged it. to add the highligjts i just used Urban Decay Blacks and Silver Palette. and i was really happy with the outcome of this piece.
Especially after i edited the hair edges in photoshop.