Make-up Exploration
Language of Prosthetics
Core- The interior positive portion of a multipiece mould, the thing you scuplt on. The core holds the detail of the head the appliance will be attached to.
Mould Negative- In making a casting of a three-dimensional object (the positive), the resulting mould in the opposite or inverse of that object.
Cast- An object produced by shaping a molten or curable material in a mould. i.e gelatine noses.
Flashing- Excess casting material in a prosthetic mould that is separated from the appliance by the cutting edge of the mould. Also the area of the mould where overflow collects. The process of making flashing is called grounding up.
Touchdowns- An area where the mould touches the core.
Key- An indentation or protrusion to aid in the precise alignment of mold parts.
Cutting edge- The cutting edge or blending edge of a mould is where the positive and the negative mould parts touch and becomes the thin prosthetic appliance edge that disappears when applied.
Undercut- Any area of a positive or negative that creates a locking state between the mold and core. i.e the edge of nostrils.
Bleed holes/ Risers- An escape hole of air trapped inside a mould' it fills with excess casting material as the mould is filled.
Release Agents- are materials that allow you to separate cast objects from moulds. There are two categories for most release agents: barrier and reactive active release agents.
What is Fibreglass?
-in short: Glass reinforced polyester resin (GPR)
- A material consisting of extremely fine glass fibres suspended in a polymer resin, used in making various products, such as yarns, fabrics, insulators, and structural objects or parts. An excellent mold material; extremely strong and very lightweight.
-It is not as strong and stiff as composites based on carbon fiber, but it is less brittle, and its raw materials are much cheaper, and it can be more readily molded into complex shapes.
Respirators:
Working with fibreglass requires safety precautions. You MUST wear a NOSH-approved resirator, and there must be adequate ventilation where you work with this material.
Other applications of Fibreglass include:
aircraft
boats
automobiles
ect.
Unlike silicone or rubber molds, fibreglass is relitively inflexible. That is, it will not 'give' in the way those other materials will.
Undercuts
If you make a fibreglass mold of a hard or rigid object that has undercuts of any kind, you will find yourself with a mold that you cannot remove without breaking the mold, the sculpture or both. Even the smallest undercut may cause problems.
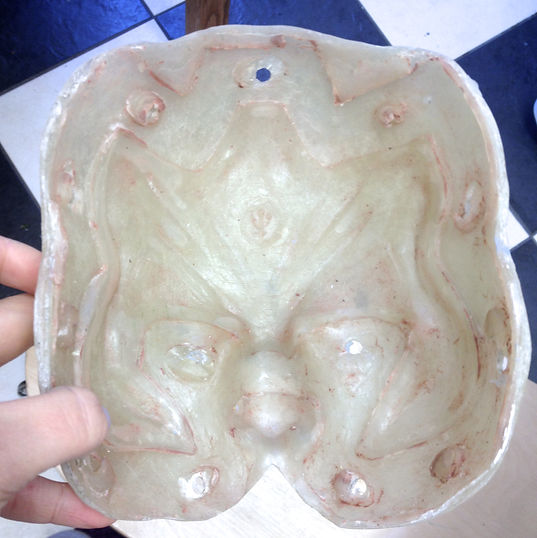
To the right is an example of a fibreglass mould used for prosthetics.
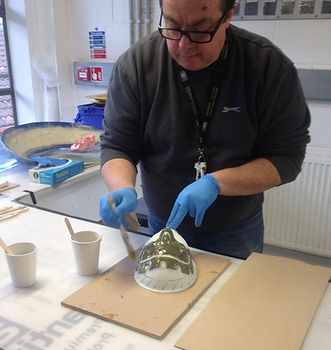
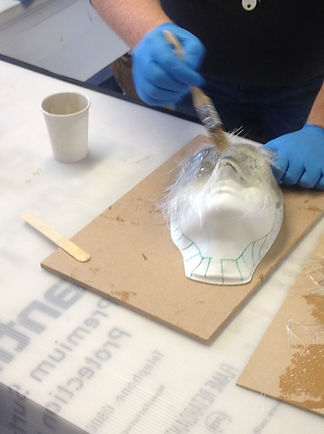
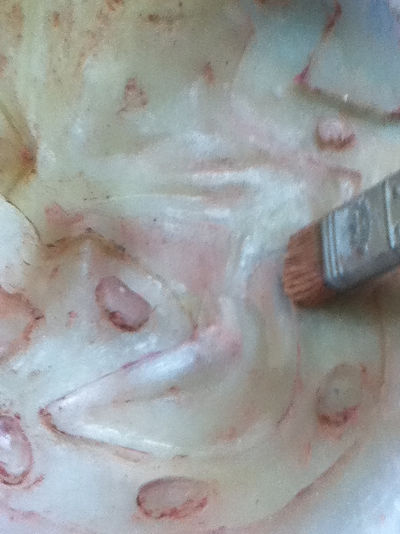
Step 3 - The Brush Coat-
The first, thin coating of material brushed into the sculpture to pick up detail. Also known as Brush-up layer, Detail layer or Print coat.
For this you need a clean brush, and make sure that the resin is applyed all over the sculpt into all the detail in a thick even layer.
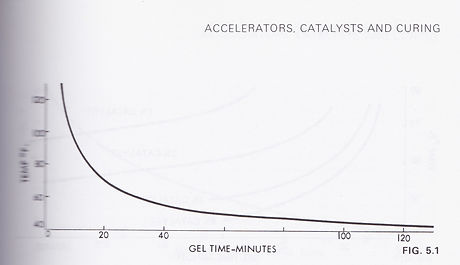
Once this is done the resin should be left between 25-35 minutes. There will be an exothermic reaction, when the resin is curing it will be warm, after about 30 minutes when it is time to move onto the next step the resin will be cold.
You need to make sure that the resin is TACKY, this is so that the next layer sticks to it and does not delaminate. if left too long it will not work.
Gel Coat Resin- A thick polymer resin coat used in fibreglass fabrication; the gel coat is used as a detail layer before applying the resin and fibreglass cloth as strengthen layers.
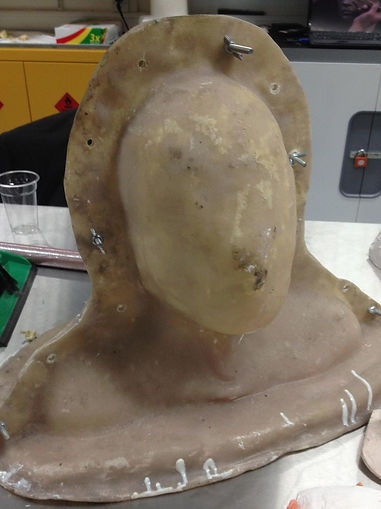
Fibreglass Moulds
Processing silicone prosthetics using fibreglass. (GRP)
Health and Safety
Health and Safety is paramount, and you must take it seriously, as this process can be potentially dangerous!
Fibreglass is strong smelling which warns us that it is dangerous. Fibreglass will irritate eyes, skin and the respiratory system.
However scientific evidence suggests that it is safe to use.

Safety Equipment
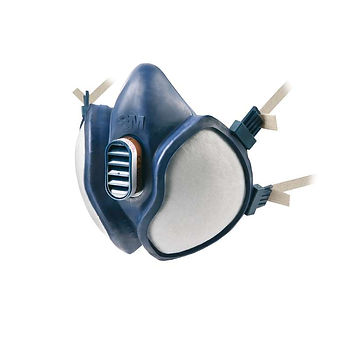
3M 4251 Maintenance-Free Organic Vapour & Par/culate Respirator P2 (disposible)
3M Easi-Air Paint Spray Respirator Assembly (reusable)


Respirators and Filters:
-
You can get disposible respirators like the one top left, that last a month and cost around £2, you need to make sure they are 3m 4251 so they protect against organic vapour.
-
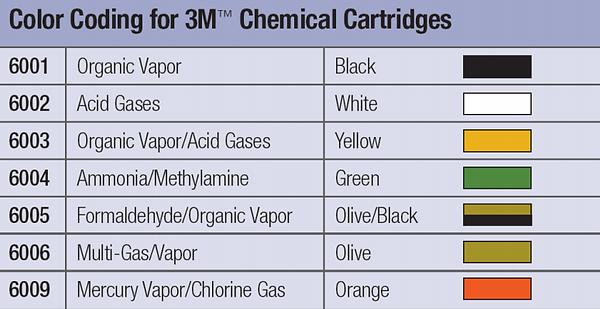
You can also buy reusable respirators that require changing filters these cost about £30. They come as mouth masks, or full face masks. Below is the chart for the filters. When fibreglassing you much make sure to buy the BLACK filters, that portect against organic vapour, (which is organic peroxide in fibreglassing) these cost about £10 for a pack.
Hand Protection
Nitrile/vinyl gloves are requires, not latex gloves as they are not compatible with polyester resin (it will swell the latex, and weaken it) It is recommended to wear 2 pairs of gloves when fibreglassing, incase one pair rips or tears, and also you can remove them safely if they become covered in resin.

Eye Protection
Is also a requirement when working with Fibreglass. to keep chemicals out of eyes. If Chemicals do come in contact with your eyes, wash with saline immidiately. Organic peroxige will burn eyes and there is a risk of blindness.
GPR Components


Method- Creating Fibreglass Moulds

Lay Up Resin-
also known as laminating resin is used to strengthen the glass matting and hold everything together.
It is a lot runnier than gel goat resin and polymising during the process of fibreglassing
Protective clothing is also recommended when working with Fibreglass, sleeves and workshop attire should be worn. In some studios there are paper overalls that are cheap and can be disposed of after a few uses.
Before starting to make the fibreglass mould it is important to prepare your work station correctly.
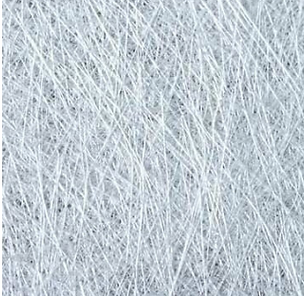
Fine Surface Tissue (Vale)
This is used for the final layer of the fibreglass mould, it is not necessary in mould making, however it gives the mould a much nicer finish so is recommended.
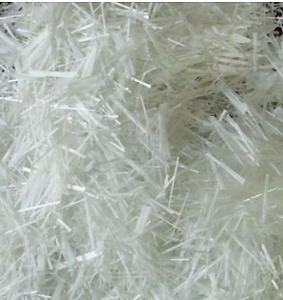
Loose chopped strand (choppies)
Also known as filler, because it is loose it fills in all the gaps and creveses of the sculpt, it also lays over itself well so is strong, where Fabric or woven matting may have straight edges that do not interweave with eachother so has to be layed on top.
Chopped strand matting
Glass strands matted together into a fabric extremely durable and easy to use when moulding larger objects.
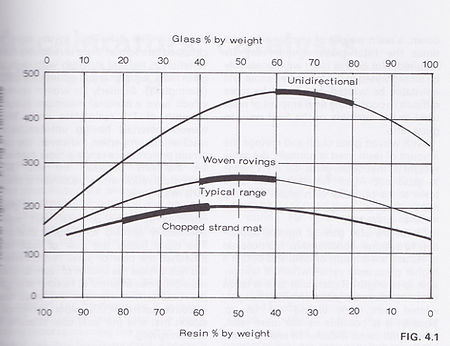
Glass Matting
Comes in lots of different forms and they have different qualities.
The Organic Peroxide in the Catalyst is the Nasty stuff that you must prtect yourself against.
Resin also has an exothermic reaction so it must be disposed of correctly to avoid an accident like a fire.
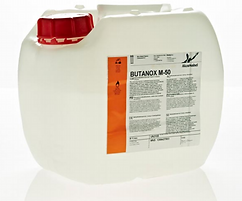
Catalyst-
Methyl Ethyl Ketone Peroxide (MEKP). or organic peroxide/ Benzoyl peroxide.
Use 2% of catalyst to 100% resin. This stuff is extremely nasty and harmful . Take car when using.
Other Types
- woven matting, a stronger fabric type material not recommended for making small moulds as it is difficult to get round organic shapes.
-Fibreglass tape and fibreglass rope. useful for strengthening moulds.
Have plenty of cups and mixing sticks, to keep everything in neatly and separated.
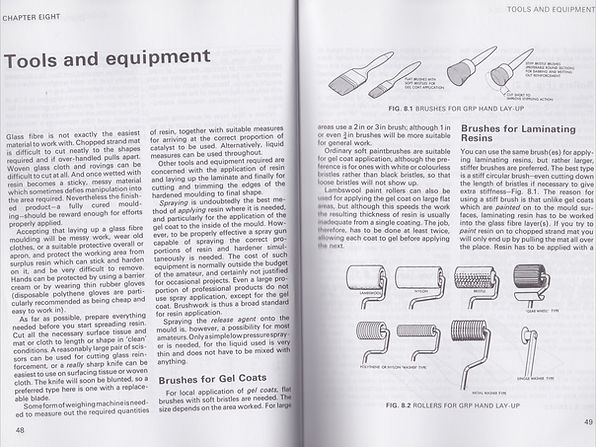
Use clean brushes, brsuhes are cleaned with Acetone, after use, you do not need to use a new brush every time just make sure it is clean.
Have your sculpt on a board to avoid mess, also have a separate board for preparing your glass matting and resin.
After finishing in the workshop, make sure everything is cleaned up and you left it the way you found it.
Work in a well ventilated area.

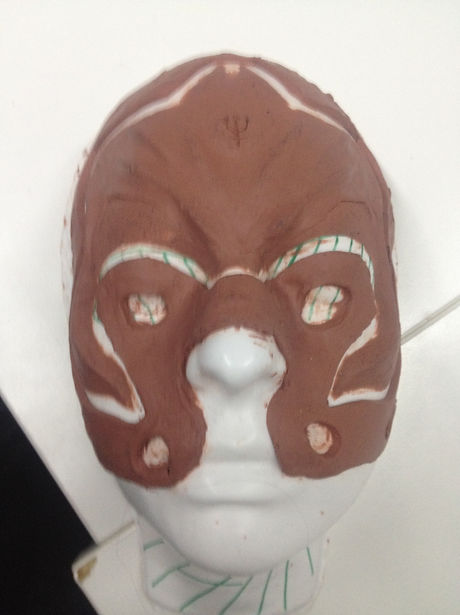
Step 1- preparing the sculpt.
When working with a plastic core, you must put mould release on all the plastic edge.
On the clay sculpt, you should apply talc powder to help the resin stick .
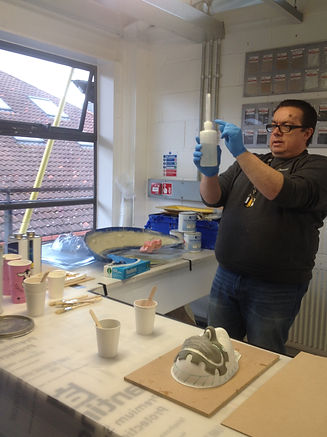
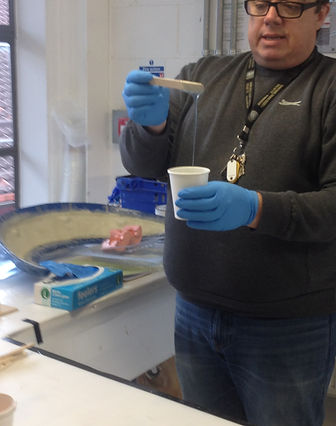
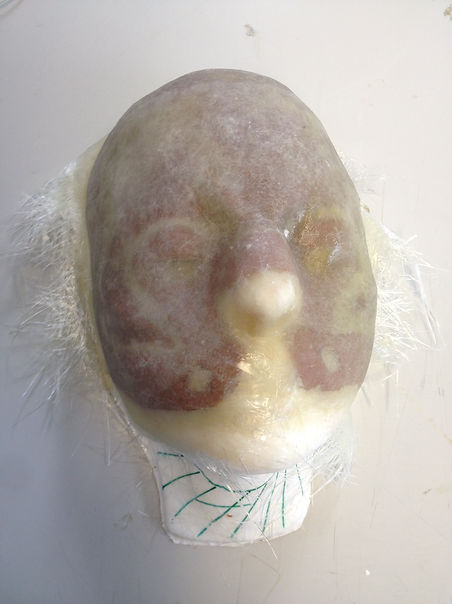
Step 2 - Measuring out the Gel Coat Resin and Catalyst.
The table below gives the correct ratios of catalyst to resin and gelcoat by weight. 1% is considered a slow mix, 2% is ideal, 3% is a fast mix.

Chart found at http://www.cfsnet.co.uk/acatalog/methods_mixingcatalyst.html
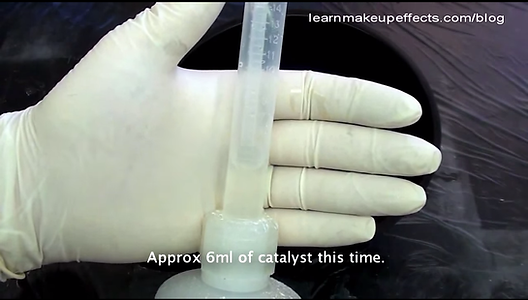
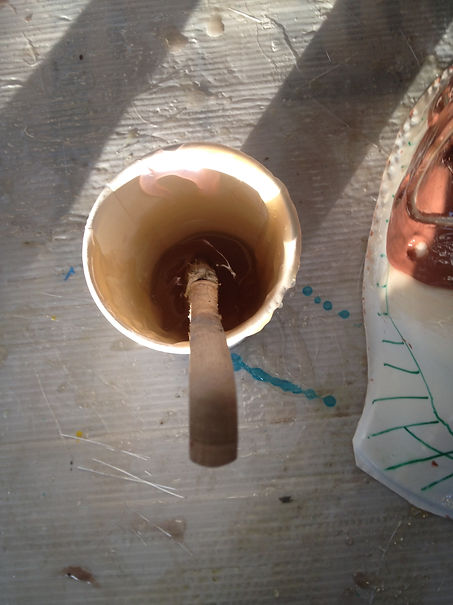
When measuring out the catalyst, use a special measuring bottle. squeeze the required amount into the tip, and then it can be poured into the resin. It is recommended to squeeze half a ml more than you need as some will remain in the nozzle.
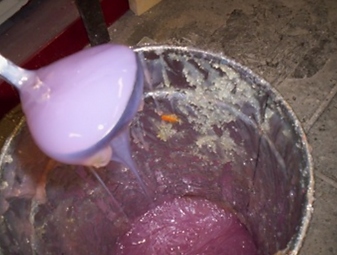
When the pink resin is mixed with catalyst it will turn brown.

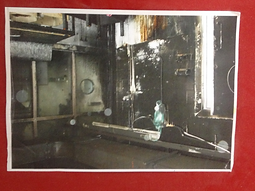
In the workshop the resin is kept in large barrels like this, the matting is in large rolls by the window.
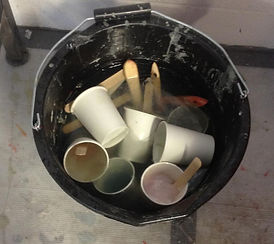
There is a bucket full of water for disposing of used resin properly.

Step 4- Avoiding undercuts
To eliminate undercuts catalysed resin is mixed with talc to create a substance that is known as Mud. it it used as a filler and placed around undercuts, such as parts of the nose after the detail layer is applied but before the glass matting. This step may not always be necessary, especially with smaller moulds.
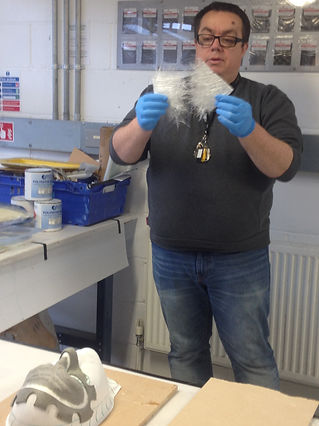
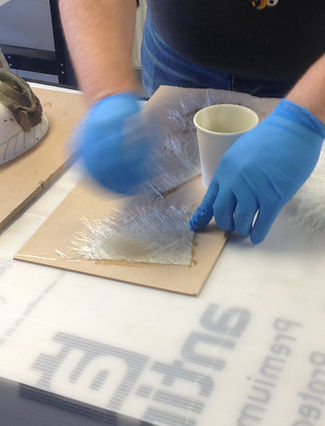
Step 5- Preparing Lay up Resin and Glass Matting
The glass matting should be ripped instead of cut in a straight line so that the fibres overlap eachother and make a stronger mould.
The lay up resin should also be mixed with a 2% catalyst.

Extra Research
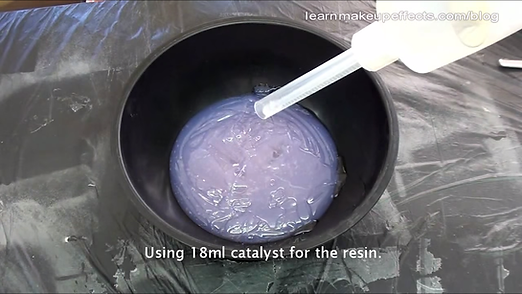
Using Fibreglass by Stuart Bray
Stuart Bray. (2012) Using Fibreglass Part 1 [Online]. Available from: https://www.youtube.com/watch?v=gMOvEnjvaZg [Accessed 20 January 2015]
In this tutorial Stuart Bray used a "Hot Mix" with means he used anout 3 or 4 percent catalyst for the gel coat resin mix. His reason for this is because the moisture in the plaster head is still quite damp and that tempurature can slow down the curing of the resin, so to combat this he used a little bit more catalyst.
Other Tips
Try to use the brush to mix in the catalyst to make sure it is mixed thoroughly. For a good minute or so to make sure it is well mixed.
Before applying the glass matting fabric, Stuart bray does a layer of chopped strands. This acts like a refinforcing detail layer.
It is important to get it in all the nooks and crannnies and the detail. It isvery important to do this when the gel coat is set but still sticky.
After this he brushed on a leyer of lay up resin without the matting to set the chopped strand layer. This will help the detail get caught in the glass.
You need to make sure that this is a very nice good clean layer, as it is the first layer that is in contact with the gel coat layer and it is easy to get air bubbles caught in the glass. Brush on thoroughly to avoid this.
For the Laminating resin you need a lot less catalyst because the process takes a lot longer, you don't want it to cure before you are finished.


Warring, R.H. (1987) The glassfibre handbook. Swanley, Kent: Nexus Special Interests.

My Attempt
Step 7- Fnishing touches
Oncle all the matting is on the mould will take aroung 30-40 minutes to set properly.
Once this is done the mould can be separated from the core and cleaned out. the edges will be rough so will need to be cut and sanded down..
Finally holes will need to be drilled through the flashing so that the next process will work.
Step 6- Laying on the Glass matting
Use the extra board to brush the lay up resin onto the glass matting.
The more loaded the matting is the more malleable it will be and form to organic shaped easier.
place the matting onto the gel coat layer and brush over to create a good form.
2 Layers are needed for the mould, With a 3rd around the edges for support. They will need to be the strongest part as that is where it is bolted in later processes.


Cleaning out Fibreglass Moulds
Fig. 31
Fig. 32
Fig. 33
Fig. 37
Fig. 34
Fig. 35
Fig. 36
Fig. 38
Fig. 39
Fig. 40
Fig. 41
Fig. 42
Fig. 43
Fig. 44
Fig. 45
Fig. 56
Fig. 64
Fig. 72
Fig. 71
Fig. 70
Fig. 69
Fig. 68
Fig. 67
Fig. 66
Fig. 65
Fig. 62
Fig. 63
Fig. 60
Fig. 61
Fig. 57
Fig. 58
Fig. 59
Fig. 54
Fig. 55
Fig. 52
Fig. 53
Fig. 50
Fig. 51
Fig. 49
Fig. 45
Fig. 48
Fig. 46
Fig. 47
Fig. 49. 1